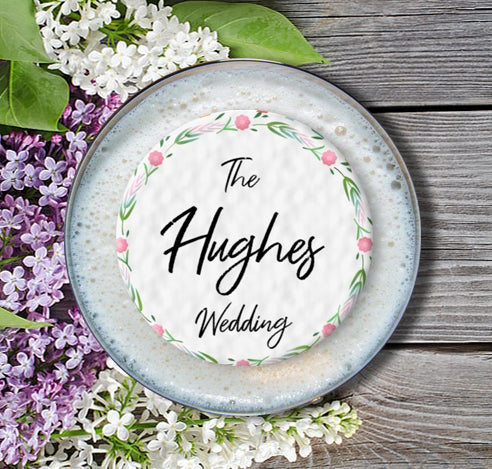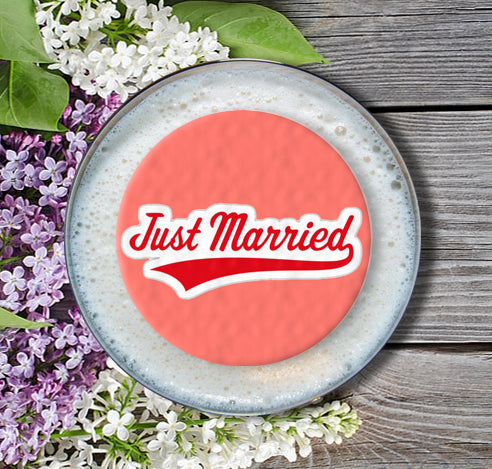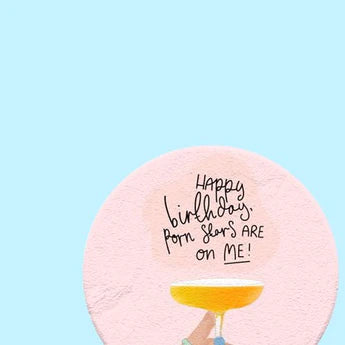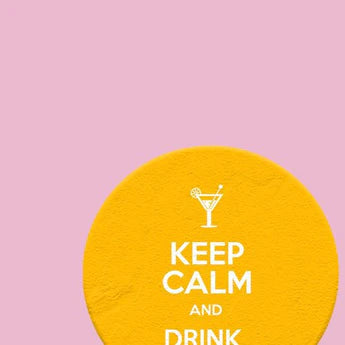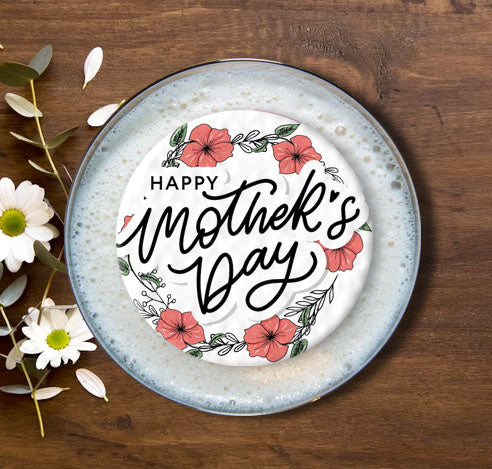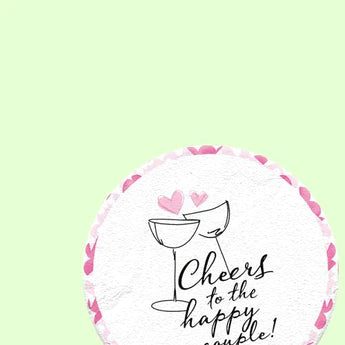

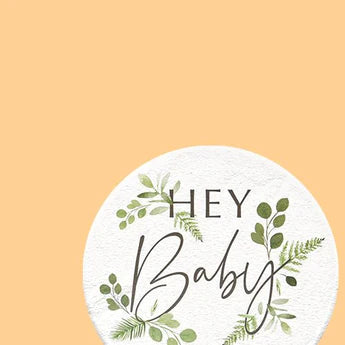

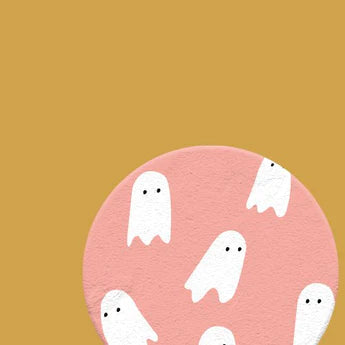

Edible Cocktail Toppers
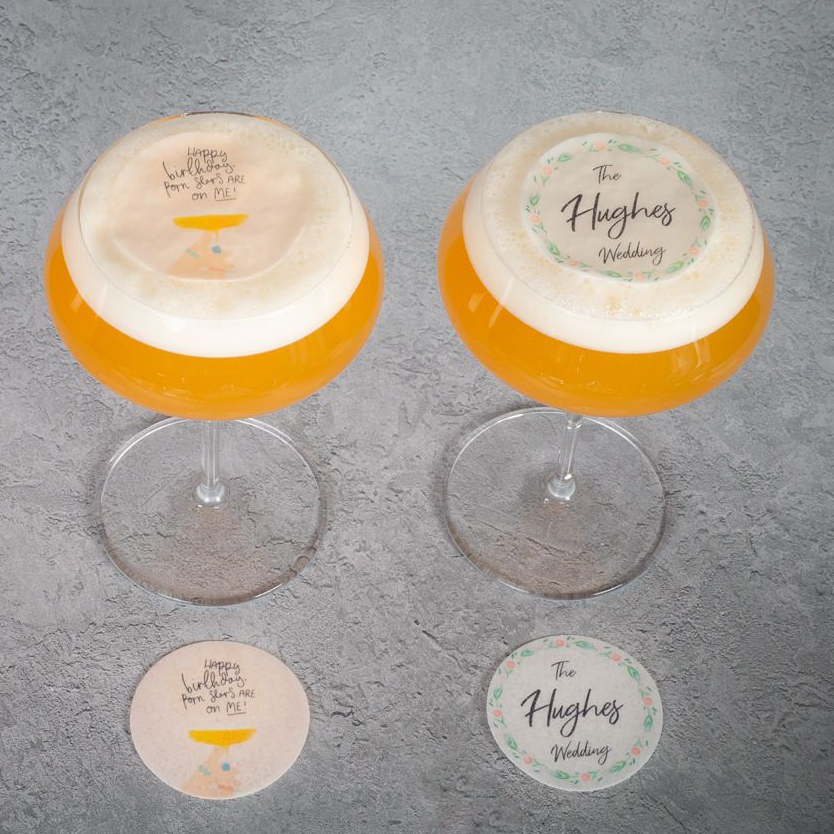
Personalised drink toppers are the perfect addition to any cocktail. They are guaranteed to make your drinks stand out from the rest.
A sustainable and cost effective alternative to traditional garnishes.
(Toppers sold in sheets of 12 or 24. Price shown is based on a sheet price)